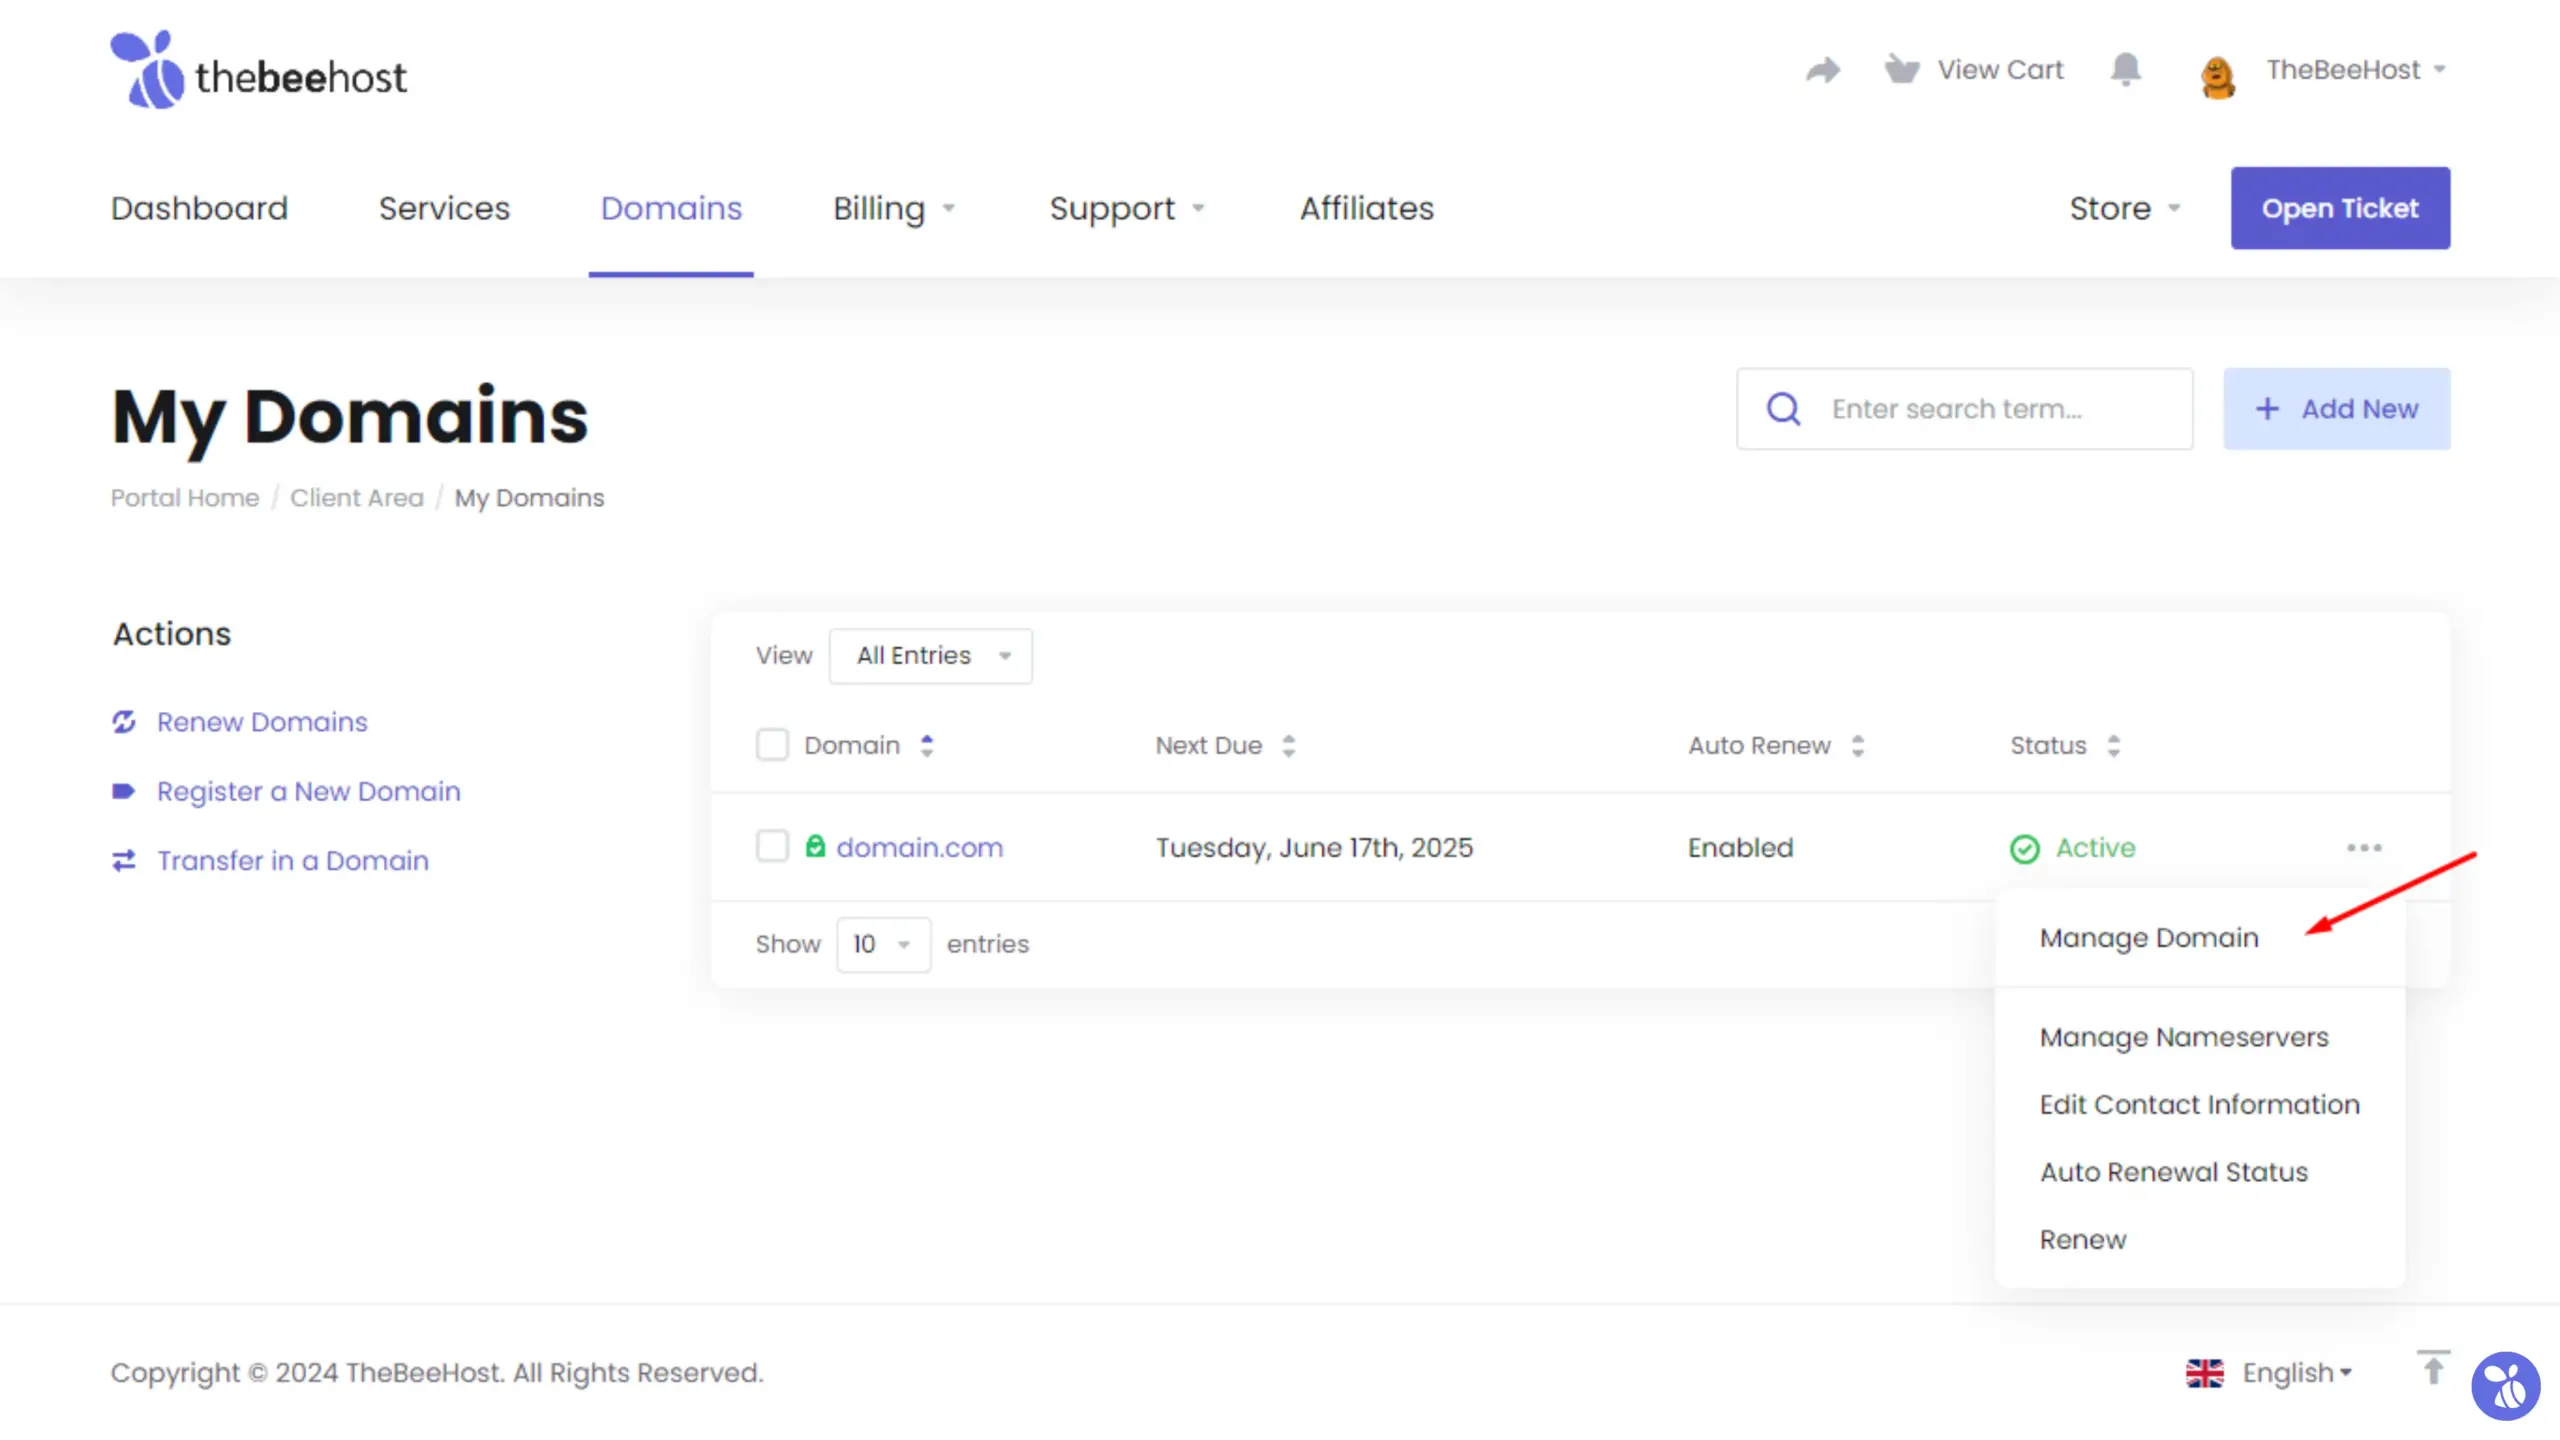
Setting up email auto-forwarding can be a convenient way to manage your emails, ensuring that important messages are redirected to your preferred email address or inbox. Most hosting providers offer email forwarding as part of their service. Here’s a step-by-step guide on how to set up email auto-forwarding using some of the most popular hosting providers. The general steps may vary depending on your provider, but the core concept remains the same.
Step-by-Step Guide to Set Up Email Auto-Forwarding
Log in to Your Hosting Account
- Access Your Hosting Provider’s Dashboard: Go to your hosting provider’s website and log in to your account. This may involve navigating to a specific section for email management.
Navigate to Email Settings
- Find Email Accounts: Look for the section in your control panel that relates to email accounts. This section may be labeled as “Email Management,” “Email,” or something similar.
- Select the Email Account: Click on the specific email account for which you want to set up forwarding.
Set Up Email Forwarding
- Locate Forwarding Options: In the email account settings, look for options like “Forwarding,” “Email Forwarding,” or “Forwarders.”
- Add Forwarding Address: Here, you’ll typically have an option to specify an email address to which you want to auto-forward your emails. Enter the alternate email address where you want to receive forwarded emails.
- Choose Forwarding Options: Some providers may allow you to choose whether to keep a copy of the emails in the original inbox or remove them. Make your selection based on your preferences.
Save the Changes
- Confirm and Save: After entering the forwarding address and adjusting the settings, make sure to save the changes. This button might say “Add Forwarder,” “Save,” or something similar.
Test the Forwarding
- Send a Test Email: To ensure everything is functioning correctly, send a test email to the email address you just set up for forwarding.
- Check the Forwarding Address: Verify that the test email arrives in the inbox of the forwarding address you set up.
Common Hosting Providers: Auto-Forwarding Instructions
Here are specific steps for some popular hosting providers:
-
cPanel
– Log into cPanel.
– Find the Email section and click on Forwarders.
– Click on Add Forwarder.
– Enter the email address you want to forward and the destination email address.
– Click Add Forwarder.
-
GoDaddy
– Log into your GoDaddy account.
– Go to the Workspace Email or Professional Email area.
– Click on Settings.
– Choose your email account, and look for Forwarding options.
– Enter the email address you want to forward to and save the changes.
-
Bluehost
– Log into your Bluehost account.
– Navigate to the Email & Office section.
– Find Manage next to the email account you want to forward.
– Look for the Edit option or Forwarding settings.
– Add the forwarding address and save changes.
-
SiteGround
– Log in to your SiteGround account.
– Go to the Email section in your dashboard.
– Click on Forwarders.
– Add the email you wish to forward from and the destination email address.
– Save the changes.
-
Google Workspace (Gmail)
– Open Gmail and log into your account.
– Go to Settings (gear icon) > See all settings.
– Click on the Forwarding and POP/IMAP tab.
– Click on Add a forwarding address.
– Enter the email address you want to forward to and follow the verification process.
– Once verified, select to Forward a copy of incoming mail.

Conclusion
Email auto-forwarding can streamline your communications and ensure you never miss important messages, even when managing multiple email accounts. The specifics may vary slightly from one provider to another, but the core principles remain the same. Always remember to test the forwarding to confirm that it’s working correctly and review your settings periodically in case your email needs change. If you encounter any issues, most hosting providers offer customer support that can assist you with setting up forwarding.

