

Sometimes, you may need to transfer a domain from one registrar to another. This can happen for better pricing, improved services, or consolidation of multiple domains under one account.
Domain transfers are straightforward if you follow the proper steps and best practices. Doing it incorrectly, however, can lead to downtime or loss of control.
Why Transfer a Domain?
There are several reasons businesses and website owners transfer domains:
-
Better pricing or promotions from a new registrar
-
Improved customer support or features
-
Consolidation of multiple domains in one account for easier management
-
Enhanced security options
Regardless of the reason, it’s important to handle the transfer carefully to avoid disruptions.
Steps to Transfer a Domain
1. Verify Domain Eligibility
Before transferring, ensure the domain is eligible:
-
The domain must be at least 60 days old.
-
It should not be locked at the current registrar.
-
Contact information must be up to date for verification purposes.
Domains under 60 days or with recent changes may be restricted from transfer.
2. Unlock the Domain
Most registrars lock domains by default to prevent unauthorized transfers. Unlock your domain in your current registrar’s dashboard to allow the transfer process.
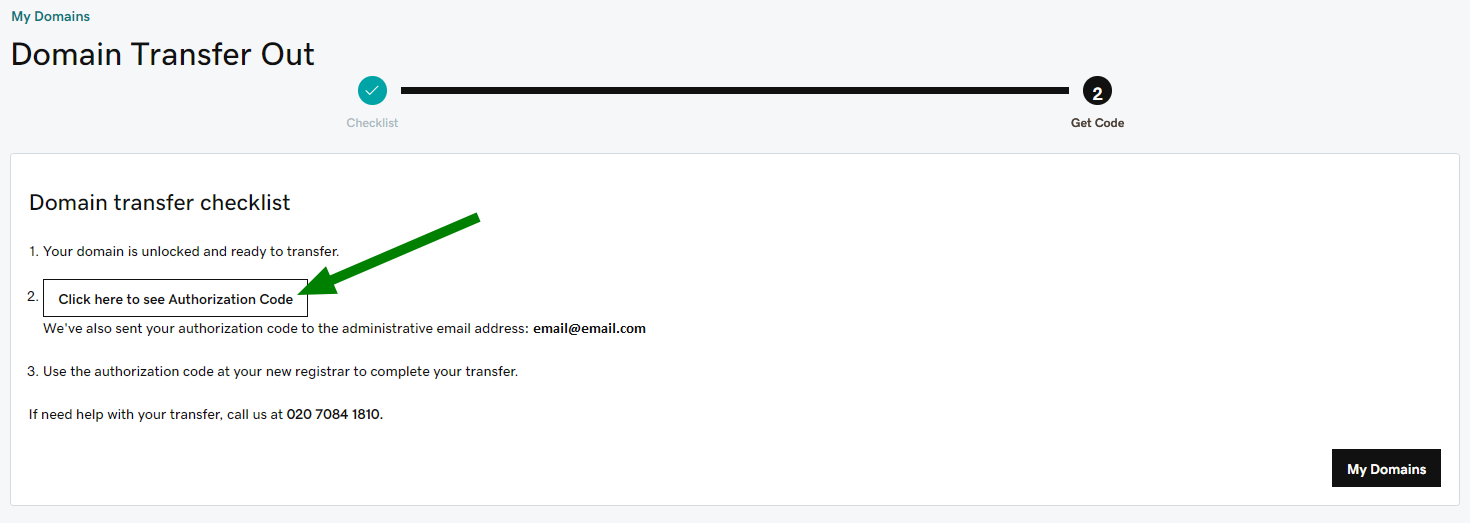
3. Obtain the Authorization Code
The authorization code (EPP code) is a security key that verifies you own the domain. Request it from your current registrar. You will need this code to initiate the transfer at the new registrar.
4. Initiate the Transfer
At the new registrar, start the transfer process and enter the authorization code. Pay any applicable transfer fees, which often include a one-year renewal of your domain registration.
5. Confirm the Transfer
Both registrars may send emails to confirm the transfer. Approve any requests promptly to avoid delays.
The transfer usually completes within 5–7 days, depending on the registrars involved.
6. Update DNS Settings
After the transfer, verify that your DNS settings remain correct. Ensure that your website, email, and other services linked to the domain continue to function properly.
If needed, update the DNS records at the new registrar.
Best Practices for a Smooth Transfer
-
Plan ahead – Avoid transfers during peak traffic periods or business-critical dates.
-
Back up data – Keep records of DNS settings and website files.
-
Enable domain privacy – Protect your information during the transfer.
-
Monitor expiration dates – Ensure the domain does not expire during the transfer process.
Following these best practices reduces the risk of downtime or service disruption.
Benefits of Transferring Domains
Transferring domains can provide:
-
Simplified management by consolidating multiple domains
-
Access to better features, support, or pricing
-
Enhanced security and control
-
Peace of mind knowing all domains are centralized under a trusted registrar
A successful transfer ensures continuity while optimizing your domain management strategy.
Final Thoughts
Transferring domains between providers is a common process, but it requires careful planning. By verifying eligibility, unlocking the domain, using the authorization code, and monitoring DNS settings, you can complete the transfer safely.
A smooth transfer helps maintain website uptime, SEO performance, and brand integrity while giving you better control and improved services from your chosen registrar.