
When you register a new domain, setting up email hosting is essential for professional communication. A business email with your domain (e.g., [email protected]) improves credibility, security, and trust.
Setting up email hosting correctly ensures smooth communication and protects your brand’s reputation.
Step 1: Choose an Email Hosting Provider
The first step is selecting a reliable email hosting provider.
Look for providers that offer:
Custom domain email support
Scalable storage
Strong security features
High uptime guarantees
Collaboration tools like calendars and shared contacts
Choosing the right provider lays the foundation for secure and efficient email communication.
Step 2: Verify Your Domain
Before creating email accounts, verify domain ownership with your hosting provider.
Verification usually involves adding a TXT record to your domain’s DNS settings. This step confirms that you own the domain and allows the email service to send and receive messages.
Step 3: Configure DNS Records
Proper DNS configuration is critical for email deliverability.
You need to add the following records:
MX Records: Direct email to the hosting provider’s servers.
SPF Records: Verify authorized senders to reduce spam.
DKIM Records: Ensure email integrity and authentication.
DMARC Records: Provide instructions for handling unauthorized emails.
Correct DNS setup prevents email delivery issues and improves inbox placement.
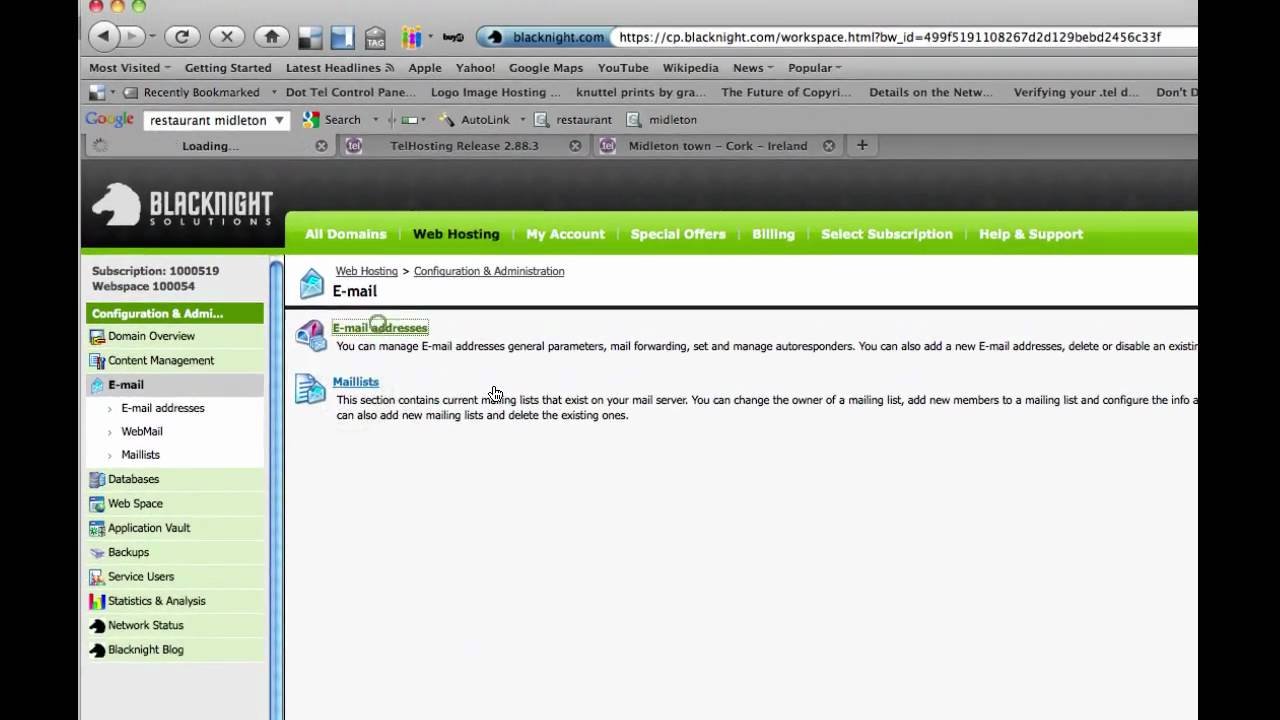
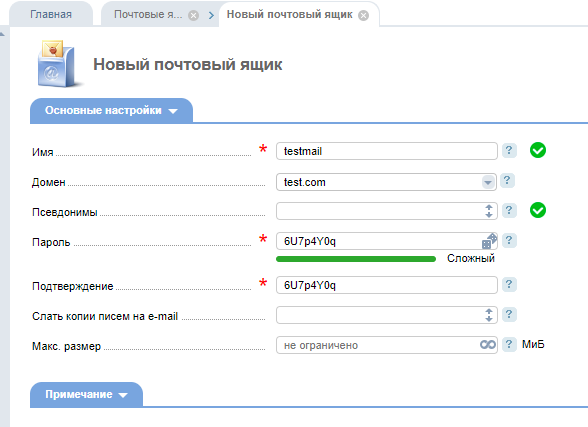
Step 4: Create Email Accounts
Once your domain is verified and DNS is configured, you can create email accounts.
Use a consistent format, such as [email protected], to maintain professionalism.
Assign passwords and set permissions for each account as needed.
Step 5: Set Up Email Clients and Devices
After creating accounts, configure your email client or app.
Popular options include Outlook, Gmail, Apple Mail, and Thunderbird. Use the provided IMAP/SMTP settings from your hosting provider to connect.
Ensure that mobile devices are also configured for on-the-go access.
Step 6: Enable Security Features
Security is essential to protect your business emails.
Enable SSL/TLS encryption for sending and receiving messages.
Implement two-factor authentication (2FA) for added protection. Use spam filtering, malware scanning, and secure passwords for all accounts.
Step 7: Test and Verify
Before full use, test your email accounts by sending and receiving messages.
Check for proper delivery, spam filtering, and signature setup.
Testing ensures that everything works correctly and that your emails appear professional to recipients.
Final Thoughts
Setting up email hosting for a new domain is essential for professional communication and brand credibility.
By choosing the right provider, verifying your domain, configuring DNS, enabling security, and testing your accounts, your business can enjoy reliable, secure, and efficient email communication from day one.