
Migrating email accounts between providers is a common task for growing businesses or those switching to a better service. Proper planning and execution ensure minimal disruption, maintain security, and preserve all messages and contacts.
A smooth migration keeps communication reliable and prevents lost emails.
Step 1: Choose Your New Email Provider
The first step is selecting a reliable email hosting provider.
Consider features such as:
Custom domain support
Scalable storage
Security measures like SSL and spam filtering
Collaboration tools like calendars and contacts
High uptime guarantees
Choosing the right provider sets the foundation for a successful migration.
Step 2: Plan Your Migration
Before starting, plan the migration carefully.
Decide which accounts will be moved, the order of transfer, and whether you’ll migrate all emails or only recent ones.
Create a backup of all existing email accounts to prevent data loss during the process.
Step 3: Verify Domain Ownership
If you are moving emails for a domain, verify ownership with the new provider.
This often involves updating a TXT record in your DNS settings. Verification allows the new provider to manage emails for your domain.
Step 4: Update DNS Records
DNS records direct emails to the correct servers.
Update MX records to point to your new provider’s servers.
You may also need to update SPF, DKIM, and DMARC records to maintain email authentication and prevent spam issues.
Proper DNS configuration ensures smooth delivery and reduces downtime.
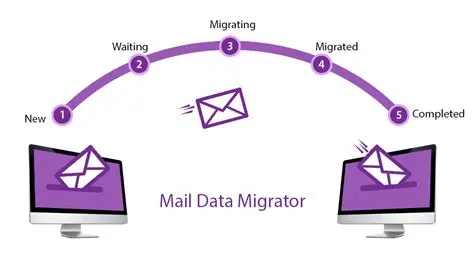
Step 5: Migrate Email Data
Email migration can be done in several ways:
IMAP Migration: Transfers emails from one server to another while maintaining folder structure.
Export/Import: Export emails to files (e.g., PST or MBOX) and import them into the new provider.
Automated Tools: Many providers offer migration wizards for faster, simpler transfers.
Choose the method that suits your technical expertise and the size of your email data.
Step 6: Recreate Email Accounts
Set up the same email accounts on the new provider.
Use consistent usernames and passwords.
Assign permissions and access levels to match the previous setup.
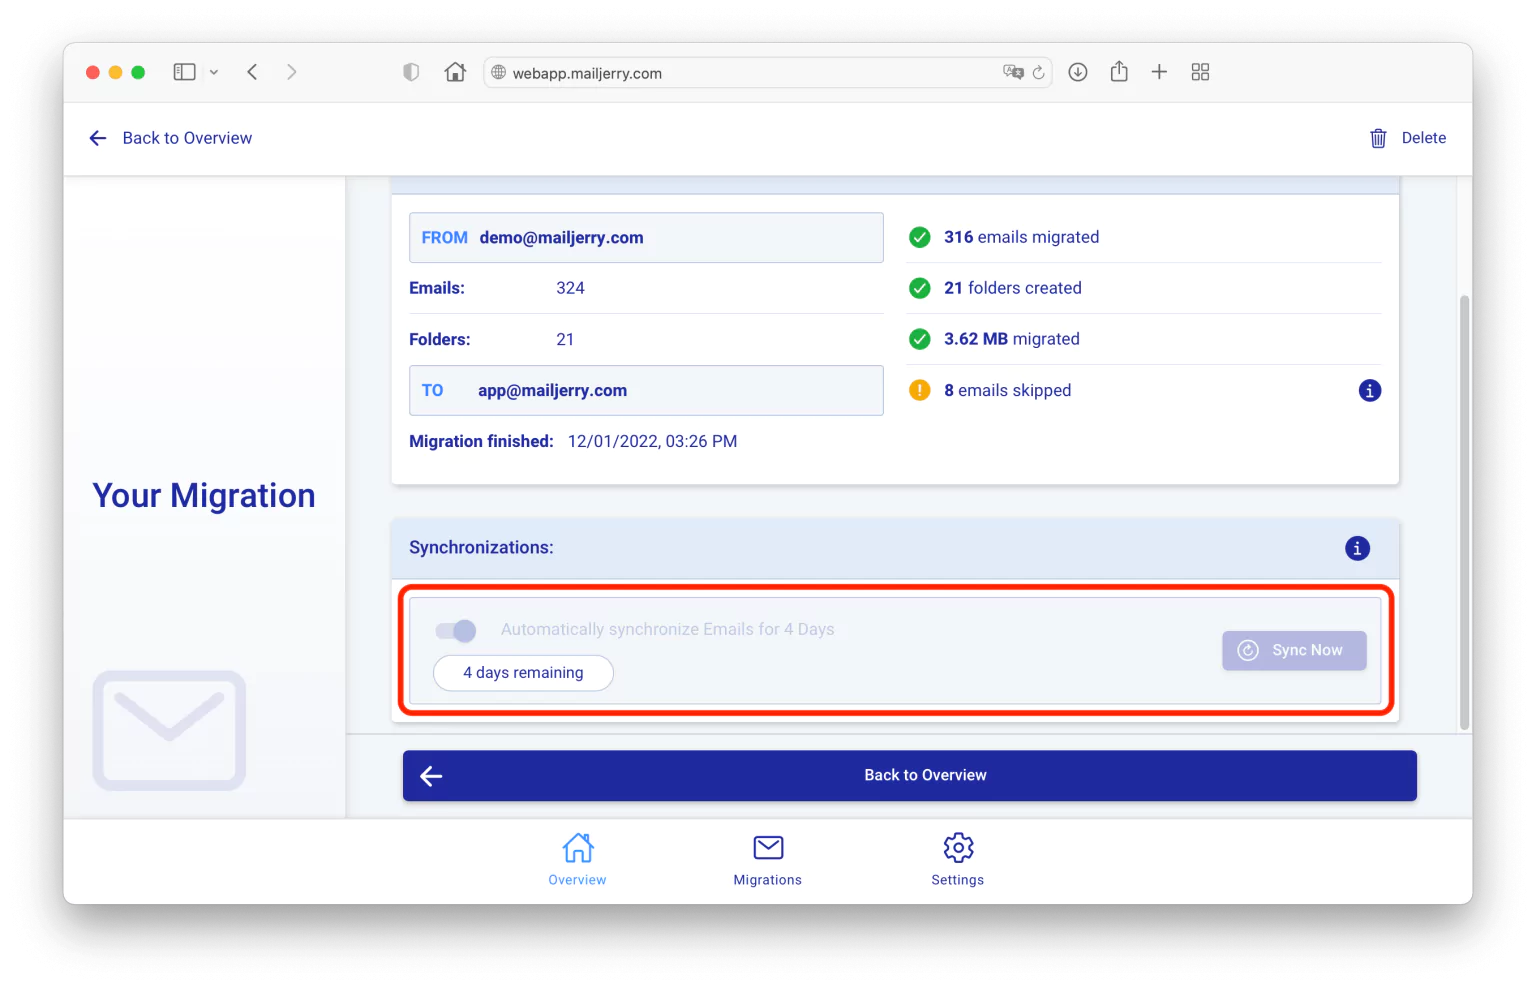
Step 7: Test the New Setup
After migration, test all accounts.
Send and receive messages to ensure proper delivery.
Verify that folders, attachments, and contacts were successfully migrated.
Check spam filtering and security features to ensure they are working correctly.
Step 8: Monitor and Communicate
During the transition, monitor email flow closely.
Inform employees, clients, or partners about the migration to prevent confusion.
Allow a few days for DNS propagation if emails are not delivered immediately.
Final Thoughts
Migrating email accounts between providers requires careful planning, secure transfer, and proper DNS configuration.
By following these steps, businesses can move to a new provider with minimal downtime, maintain all email data, and continue professional communication without interruption.
Proper migration ensures reliability, security, and a seamless experience for both employees and clients.